Embroidering Your Bear’s Story
There’s something undeniably charming about crafting your own stuffed animal. It’s a chance to tap into your creativity and craft a unique companion that speaks directly to your heart. And when it comes to adding a personal touch, embroidery takes center stage! With a little bit of patience and some creative flair, you can turn your Build-a-Bear adventure into something truly extraordinary.
Imagine this: The plush bear you’ve lovingly chosen is now adorned with intricate embroidery patterns. Maybe it’s a whimsical butterfly dancing on its shoulder, representing the excitement of new adventures to come. Or perhaps a delicate floral design adorns its chest, symbolizing love and kindness. Embroidery breathes life into your Bear, turning it from just an object into a treasured confidante.
But why even bother with embroidery? It’s not simply about adding an extra layer of embellishment; it’s about crafting a story. Every stitch tells a tale, every color creates an emotion, and every design brings your Bear to life. Embroidery is like a visual journal of your imagination, capturing the essence of your Build-a-Bear experience.
So, how can you get started with this magical craft? The key is choosing the right supplies and embracing your inner artist!
Choosing Your Supplies: A Stitch in Time
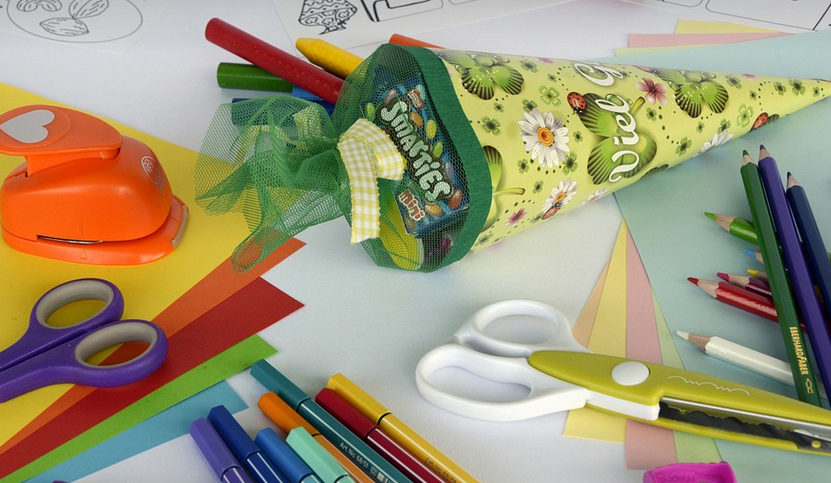
First things first, gather your crafting essentials. You’ll need:
- Embroidery floss: Choose colors that complement the Bear’s initial color scheme. Experiment with various textures and shades for a dynamic effect.
- Embroidery needles: Opt for sharp, fine-point needles designed to handle embroidery floss.
- Embroidery hoop: This tool ensures even tension for your stitches, preventing frustration as you weave your masterpiece.
- Fabric Scissors: For precise cuts and clean edges on your Bear’s fabric.
- Needle Threader: Eliminate the hassle of thread knots with this handy tool.
- Embroidery Design: Print out simple designs or sketch your own! Use stencils to guide your needle for more precise work, especially on intricate details.
And don’t underestimate the power of a good pair of needles and thread holders. A smooth workflow will make all the difference in your crafting journey, allowing you to focus on expressing yourself creatively.
Embracing the Creative Journey
Now for the fun part! Start with a single stitch pattern. Choose designs that appeal to your Bear’s personality or reflect its story! Simple patterns like hearts, flowers, and stars are great starting points.
To introduce a bit of playful exploration, try adding texture to your embroidery. Combine different fabrics for a unique effect, such as using a satin ribbon alongside the thread. This will add depth and dimension to your design.
Next, empower yourself with creative thinking! You can explore various techniques like free-hand stitching, cross-stitch, or even try out more elaborate designs like flowers or animal motifs. Don’t be afraid to experiment!
Remember, there’s no right or wrong way to create your Bear’s embroidery. It’s all about having fun and expressing yourself! The joy lies in the journey as you bring your vision to life one stitch at a time.
Embracing the Final Touch
Once you’ve finished your embellishments, give your Bear a gentle shake to see if it has a new personality. Is it more playful and whimsical, or perhaps a little bit mysterious? Let your imagination guide you as you explore this exciting artistic journey.
With the completion of your embroidered masterpiece comes a sense of satisfaction that no amount of store-bought plush can replicate. You’ve created something truly special, a tangible representation of your imagination. Your Build-a-Bear will forever hold a unique charm and be a cherished friend to take on any adventure!
So, go ahead, grab your needles and thread, and let the creativity flow! Embroidery is more than just crafting; it’s an expression of yourself, a bridge between childhood dreams and adult artistry. Enjoy the process of bringing your Build-a-Bear to life with each stitch.